How to convert a photo into a laser engraving file (step-by-step)
Step-by-step guide to converting photos into laser engraving files, including contrast, dithering, and how to get sharp, consistent engraving results automatically.
How to Convert a Photo into a Laser Engraving File (Step-by-Step)
Turning a normal photo into a laser engraving file is one of the most important skills for makers, Etsy sellers, and engraving businesses. The quality of your final engraving depends almost entirely on how well the image is prepared before it reaches your machine.
In this guide, you’ll learn how to properly convert any photo into a laser-ready file that produces sharp, consistent engraving results.
⚠️ Why simple image uploads don’t work
Laser engraving machines don’t interpret images the same way humans do. If you upload a raw photo, the machine will struggle with:
- Low contrast details
- Soft shadows and highlights
- Background noise
- Unoptimized grayscale values
This is why many engravings come out blurry, burned, or inconsistent.
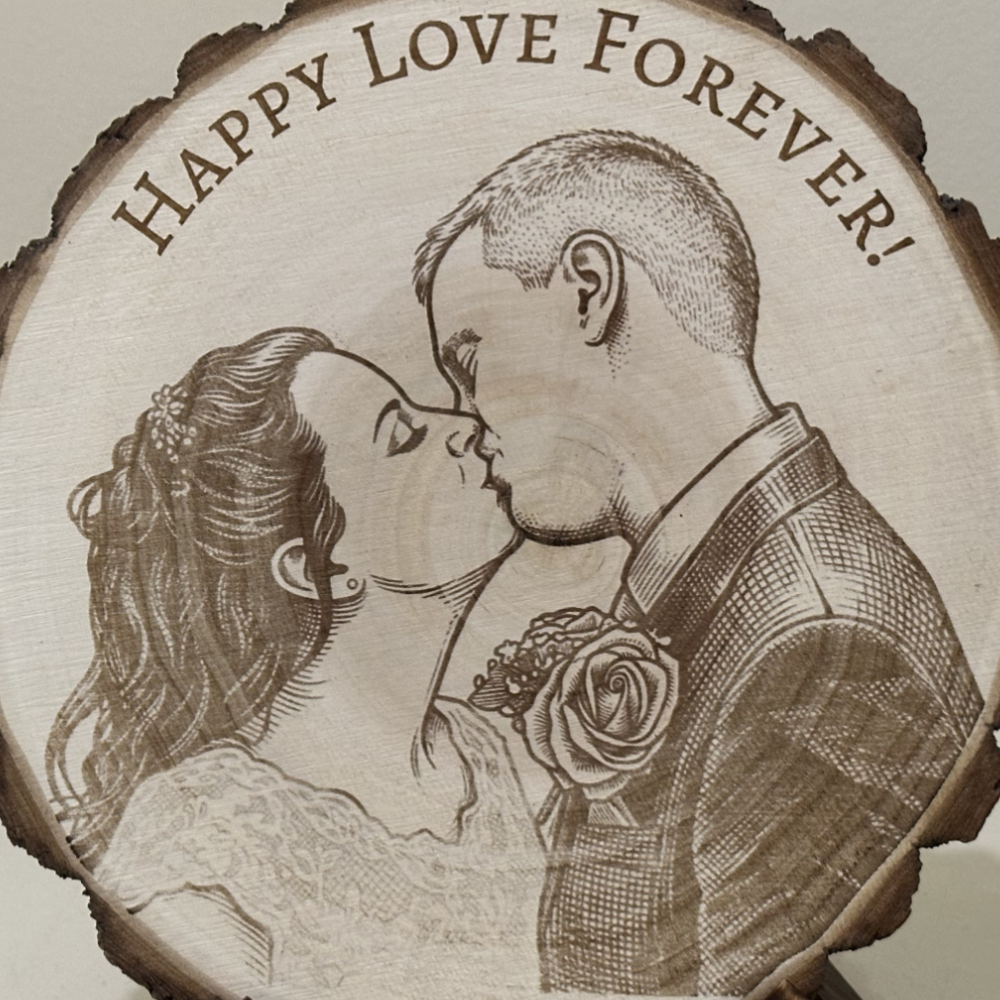
🧠 Step 1 — Choose a high-quality image
Start with a clear image that has good lighting and visible contrast. Portraits, pets, and logos usually work best for engraving.
🎯 Step 2 — Prepare contrast and details
Adjust brightness and contrast so the subject stands out clearly from the background. This step helps the laser understand where to burn and where to leave space.
⚡ Step 3 — Apply engraving-specific processing
This is where most workflows become slow and manual — or fully automated.
Traditionally, users would spend time in Photoshop or LightBurn adjusting:
- Dithering patterns
- Grayscale mapping
- Background removal
Today, this entire process can be automated using AI tools designed specifically for laser engraving workflows.
🚀 The fastest way to convert photos into engraving files
Instead of manually editing every image, tools like EngraveIQ automatically convert photos into engraving-ready files in seconds.
The AI converter is designed specifically for laser engraving workflows and ensures:
- Sharp and consistent engraving output
- Optimized contrast for laser clarity
- Automatic dithering for smooth gradients
- Background removal for cleaner burns
- Fast processing in under 10 seconds
This eliminates most manual editing and makes it possible to go from image → engraving-ready file almost instantly.
🧩 Final thoughts
The key to great engraving results is not the machine — it’s the image preparation. Once your workflow is optimized, even basic laser machines can produce professional-quality results.
✨ Try it yourself
Test your own image using EngraveIQ’s AI converter built for laser engraving workflows.
Convert image free →