Best image settings for laser engraving (DPI, contrast, brightness explained)
A simple guide to laser engraving image settings including DPI, contrast, and brightness to help you achieve sharper, cleaner engraving results.
Best Image Settings for Laser Engraving (DPI, Contrast & Brightness Explained)
Getting clean, sharp laser engravings is not just about your machine — it’s about how your image is prepared before engraving.
Small changes in DPI, contrast, and brightness can completely change your final result from blurry and burnt to crisp and professional.
📏 What DPI should you use for laser engraving?
DPI (dots per inch) controls how much detail your image contains. In laser engraving, this directly affects sharpness and clarity.
- Low detail (coarse engraving): 150–250 DPI
- Standard engraving: 250–400 DPI
- High-detail portraits: 300–600 DPI
Higher DPI does not always mean better engraving — too much can slow processing and create noise if the image is not optimized.
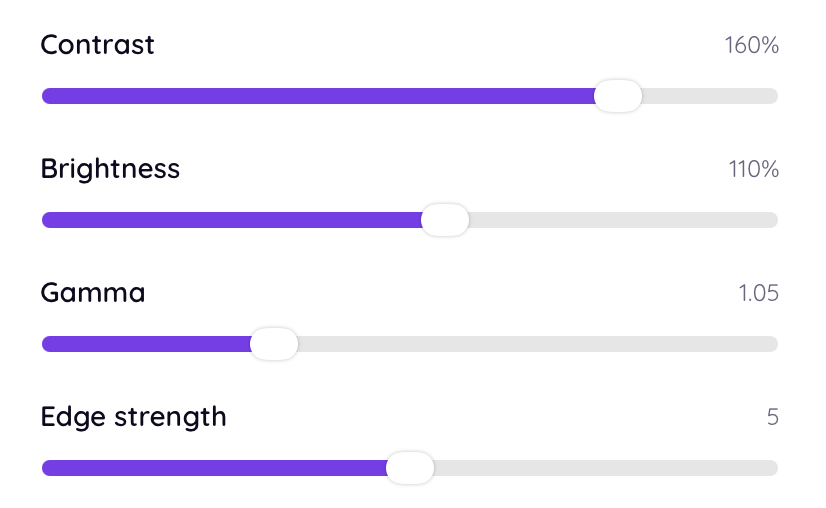
🎯 How contrast affects engraving quality
Contrast is one of the most important settings in laser engraving. It determines how clearly the subject stands out from the background.
- Low contrast = flat, unclear engraving
- High contrast = sharp, defined details
The goal is to make the subject clearly separated without losing mid-tone detail.
🌗 Brightness settings explained
Brightness controls how light or dark your image appears before engraving.
Too bright → loss of detail in highlights Too dark → loss of detail in shadows
The best results usually come from a balanced mid-range brightness with controlled contrast.
⚡ The missing step most people skip
Even if DPI, contrast, and brightness are correct, most engraving issues come from missing image preprocessing steps like:
- Dithering optimization
- Background removal
- Grayscale balancing
- Detail enhancement for laser interpretation
These steps are usually done manually — or skipped entirely — which leads to inconsistent engraving results.
🚀 The easiest way to get perfect settings automatically
Instead of manually adjusting every image, tools like EngraveIQ automatically optimize images for laser engraving.
The AI converter is built specifically for engraving workflows and automatically handles:
- Optimal contrast balancing
- DPI-aware processing
- Engraving-grade brightness correction
- Smart dithering generation
- Background removal for cleaner results
This removes guesswork and ensures consistent, sharp engraving results every time.
🧩 Final thoughts
Image settings matter — but manual tuning is slow and inconsistent. The best results come from a workflow that is optimized specifically for laser engraving.
✨ Try it yourself
Upload your image and let EngraveIQ automatically optimize it for engraving.
Convert image free →